
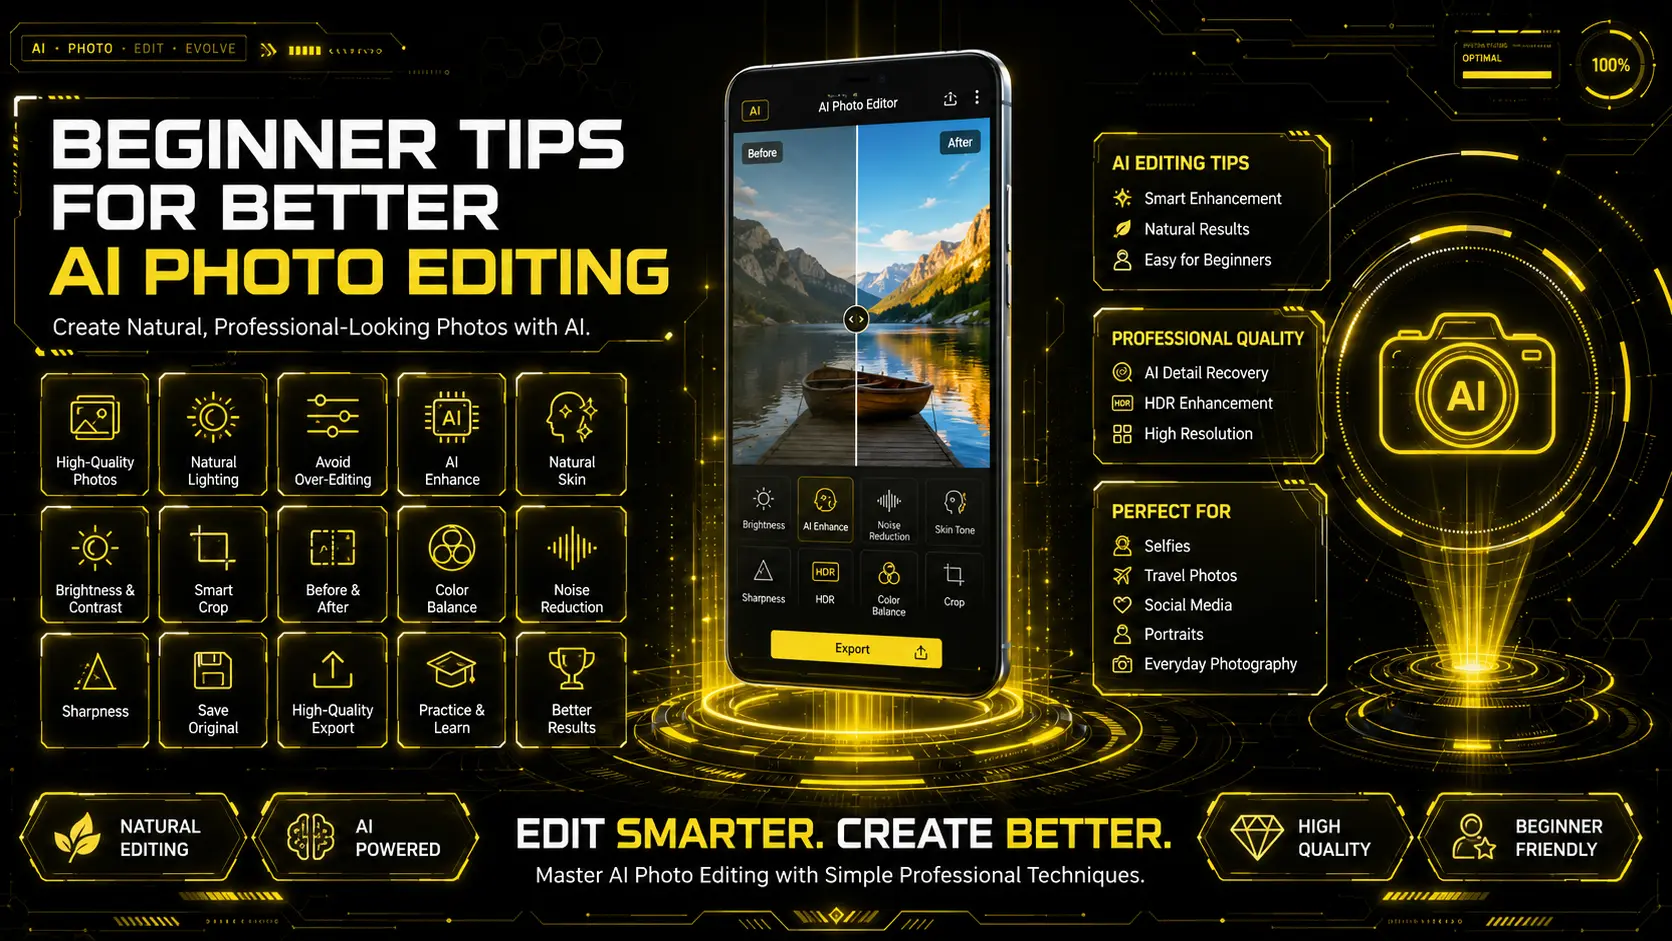
Beginner Tips for Better AI Photo Editing
If you’re just starting out, here are some tips for improving your AI photo editing.
AI has revolutionized photo editing, making it quicker and simpler than ever. Enhancing image quality, removing blemishes, adjusting colors, and sharpening details are just a few tasks that are done with a few taps. AI editing apps can edit photos professionally, even if you are not an expert, whether you are editing photos of yourself, while traveling, or for social media.
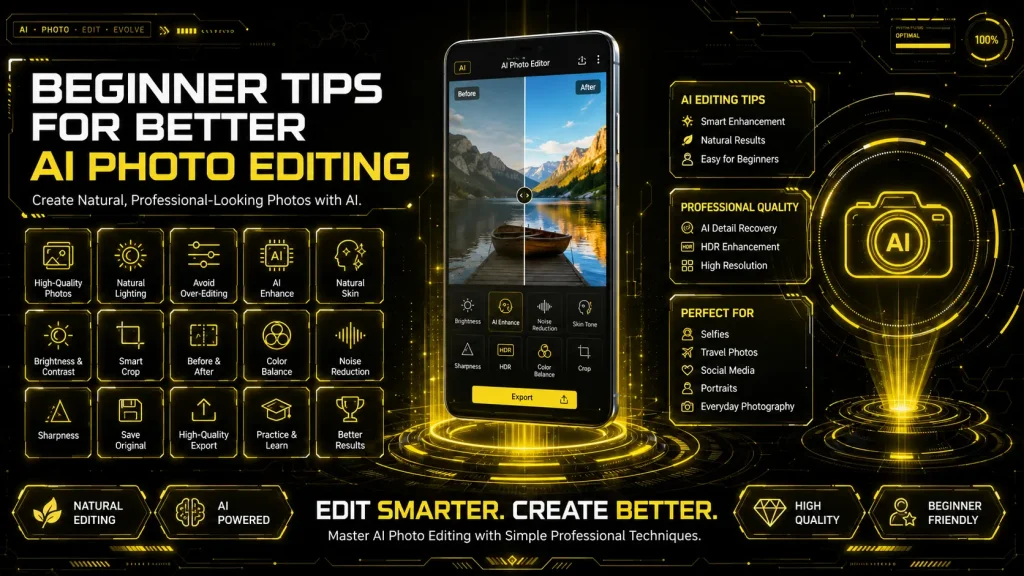
But using AI alone isn’t sufficient to produce fabulous photos. It helps to have a little knowledge of basic editing techniques. Here you’ll learn some of the most basic tips to maximize the capabilities of AI photo editing while maintaining a natural and aesthetically pleasing look for your photos.
1. Start with a High-Quality Photo
While the use of AI can enhance images, it cannot entirely salvage a poor-quality photo. Always take good, crisp photos that are in focus and well lit. The higher the quality of the original image, the more perfect the outcome will be following editing.
2. Use Natural Lighting Whenever Possible
Lighting is an important aspect of photography. Natural light typically provides better quality photos with more detail and colors, which makes AI tools have an easier time enhancing them.
Keep lighting as low as possible, and don’t overdo it, or you can add noise.
3. Avoid Over-Editing
The worst thing a beginner can do is use all of the filters and enhancements.
Excessive smoothing, sharpening, or color adjustment can render a photo artificial. Rather, take a gradual approach and make small adjustments until the image seems shiny but believable.
4. Enhance Details Gradually
The majority of AI editing apps will provide you the ability to adjust the level of enhancements.
Rather than applying all of the adjustments at full strength, ramp them up gradually until you see results. This minimizes loss of facial features and texture.
5. Keep Skin Looking Natural
Portraits can be enhanced using beauty filters, but doing so can strip away the texture of skin.
Try to make minor improvements that minimize minor flaws without creating an unrealistic or unnatural face.
6. Improve Brightness Before Adding Filters
Well-exposed photos will give you a more solid base on which to work.
Start by adjusting brightness and contrast, and then try out filters or AI-powered enhancements to ensure balanced and appealing colors.
7. Crop Your Photo for Better Composition
Cropping is used to eliminate distractions and to focus the viewer’s attention on the primary subject.
It’s best to have a well-composed image with less clutter, rather than a crowded one.
8. Compare Before and After
Most of the AI photo editing apps offer the option to see the original image as well as the edited one.
Compare both versions, and then save your work. This is a way to identify over-editing and to make sure it still reads in a natural way.
9. Preserve Original Colors
Color can be enhanced using AI tools, but images may become overpowered.
Balance colors to maintain the true appearance of landscapes, food, portraits, and everyday scenes.
10. Reduce Noise Carefully
Digital noise can be seen in photos taken in low lighting.
To avoid oversmoothing out essential details, be careful not to overuse the AI noise reduction feature. Typically a moderate adjustment will give the right balance of clarity and texture.
11. Sharpen Without Overdoing It
Photographs can be made more vivid and sharp after resizing by sharpening.
But too much sharpening will result in halos and artifacts around objects. It is generally sufficient to increase the overall image quality by just a little bit.
12. Save Your Original Photo
If you intend to make a significant modification to the image, make a copy of it.
This enables you to go back to the original version if you don’t like the changes that you’ve made or if you’d like to change your editing style later on.
13. Select the proper export quality
A lot of new users don’t pay attention to export options.
When you edit your photographs, make sure to save them in high quality, as this will ensure that they will retain details, particularly if you intend to post them on social media or print them out in the future.
14. Work with various types of photos
Different editing techniques are required for editing portraits, landscapes, food, pets, and night photos.
By testing different elements, you gain insight into how AI reacts to different lighting and compositions.
15. Keep Learning Through Practice
With practice, AI photo editing is easier.
Experiment with the same picture and different settings to see the difference each one makes in the photo. You will get a feel for what a natural and attractive edit is over time.

Mistakes that beginners should avoid
There are a number of mistakes you need to avoid when using AI editing tools:
Using too many beauty filters.
Exaggerated or overstepped focus.
Sometimes, subtle tweaks yield more aesthetically pleasing images than extreme tweaks.
Final Thoughts
With the help of AI image editing, anyone can make improvements to photos even without a professional’s experience. With this simple concept, and with the help of natural light, a few steps, and minimal editing, even the novice can produce impressive results in just a few minutes.
Keep in mind that AI is not about replacing creativity but enhancing it. The most effective edits are a blend of intelligent AI features and the user’s creative style and attention to detail. With practice, you will get more confident and learn how to edit photos so that all of your photos look their best.

I’m a passionate digital creator who enjoys exploring technology, websites, apps, and online content. I like learning new things, sharing useful information, and creating simple, engaging content for readers. Through my websites and projects, I aim to provide helpful resources while continuously improving my skills and knowledge.